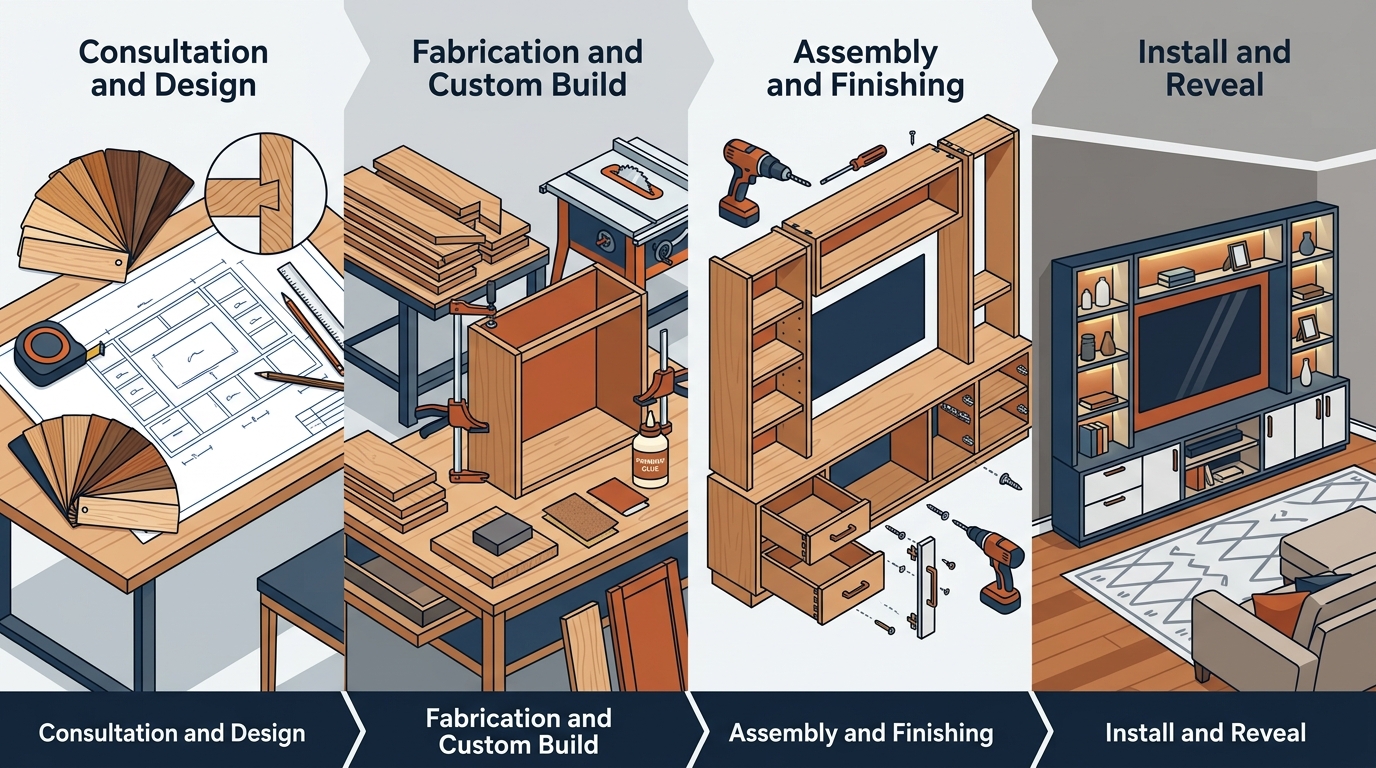
A custom entertainment center is a built-in or freestanding media unit designed and constructed to fit a specific room layout, storage need, and aesthetic preference. Unlike mass-produced furniture, a custom piece gives you full control over dimensions, materials, and features. At Remodel Depot, our Tampa Bay team walks every client through a proven process that turns a blank wall into a stunning focal point. Below, we break down each phase so you know exactly what to expect from consultation to final reveal.
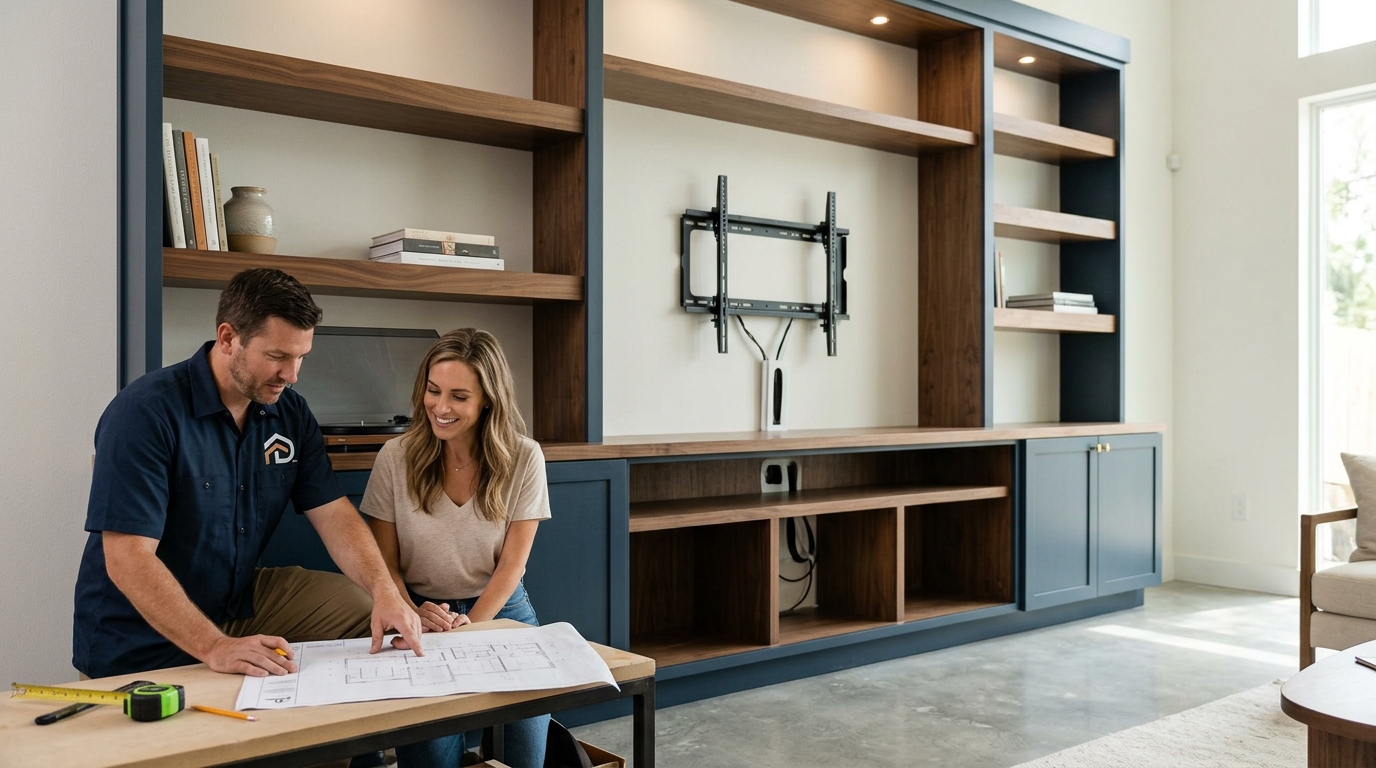
Step 1: Initial Consultation and Vision Planning
Every custom entertainment center begins with a conversation. During the initial consultation, your contractor learns how you plan to use the space. Will it house a 75-inch TV, gaming consoles, a vinyl record collection, or all three?
A clear list of must-have features at this stage prevents costly changes later. Consider items like adjustable shelving, concealed cable management, and integrated LED lighting. A custom cabinetry specialist can also suggest design ideas you may not have considered, such as hidden compartments or built-in soundbar niches.
Step 2: Measurement and Space Assessment
Precision starts with the tape measure. Your contractor will record the height, width, and depth of the target wall along with the locations of electrical outlets, HVAC vents, and any architectural features like crown molding or baseboards.
Why Ventilation Matters
Electronics generate heat. Experts recommend allowing 1 to 2 inches of clearance behind components for proper airflow. Planning ventilation cutouts now avoids overheating problems after installation.
Accounting for Viewing Height
Viewing height is the vertical distance from the floor to the center of the TV screen. For comfortable seated viewing, most designers target 42 to 48 inches from the floor to screen center. Your contractor factors this measurement into the cabinet and shelf layout.
Step 3: Design and Material Selection
With accurate measurements in hand, the design phase begins. Your contractor or designer creates sketches or 3D renderings that show cabinet placement, shelving layout, and trim details. This is the stage to finalize the style, whether that is a modern minimalist look or a traditional built-in with decorative moldings.
Choosing the Right Wood
Material selection directly impacts durability, appearance, and cost. Hardwoods like oak and cherry offer lasting strength, while pine provides a budget-friendly alternative. If you are planning a broader room renovation, our kitchen remodeling and bathroom remodeling teams can coordinate finishes for a cohesive whole-home look.
| Wood Type | Grain & Color | Durability | Cost Range | Best For |
|---|---|---|---|---|
| Oak | Prominent grain, warm tones | High | $$-$$$ | Traditional and transitional styles |
| Maple | Smooth grain, light color | High | $$-$$$ | Modern and contemporary rooms |
| Cherry | Fine grain, darkens over time | High | $$$ | Formal living spaces |
| Pine | Knotty grain, pale yellow | Moderate | $ | Casual or rustic aesthetics |
| Plywood (cabinet grade) | Varies by veneer | High | $-$$ | Painted built-ins and budget builds |
Step 4: Fabrication and Cabinetry Construction
Fabrication is the hands-on building stage where raw lumber and sheet goods become cabinets, shelves, and face frames. A licensed general contractor uses precision tools like table saws, routers, and pocket-hole jigs to cut and join every component.
Soft-close hinges and full-extension drawer slides are installed at this stage. These hardware choices protect electronics from vibration and make daily use more convenient. At Remodel Depot's built-in division, each piece is dry-assembled in the shop to verify fit before it ever leaves the workshop.
Step 5: On-Site Installation
Installation day is when the entertainment center meets its permanent home. The process typically follows this sequence:
- Remove existing baseboards or trim where the unit will sit flush against the wall.
- Locate and mark wall studs for secure anchoring.
- Position base cabinets, level them, and fasten together with cabinet screws.
- Secure the assembled unit to wall studs.
- Cut openings for outlets, cable ports, and ventilation.
- Install countertops or upper shelving sections.
Built-in entertainment centers should always be anchored to wall studs for safety and long-term stability.
Step 6: Finishing, Hardware, and Detail Work
Finishing is the final transformation stage. Gaps between the unit and walls are filled with caulk and wood filler for a seamless appearance. The entire piece then receives primer and two to three coats of paint or stain.
Finishing also includes installing decorative hardware like drawer pulls, handles, and any accent lighting. Coordinating hardware finishes, such as brushed brass or matte black, ties the entertainment center into the room's broader design. If you are updating an entire living area, explore our whole-home renovation services for a unified result.
Popular Materials Compared
Choosing between solid hardwood, plywood, and MDF depends on budget, desired look, and intended use. Solid hardwood offers unmatched beauty but comes at a premium. Cabinet-grade plywood delivers excellent strength at a lower price and is the go-to choice for painted built-ins. MDF (medium-density fiberboard) is an engineered panel product made from wood fibers and resin, ideal for smooth painted surfaces but less resistant to moisture.
Key Takeaways
- Start with a thorough consultation so your contractor understands your lifestyle and equipment needs.
- Accurate measurements, including outlet and vent locations, prevent costly rework during installation.
- Choose materials based on your style, budget, and the room's humidity level.
- Plan for ventilation by leaving 1 to 2 inches of clearance behind electronic components.
- Soft-close hardware and full-extension slides improve daily usability and protect gear.
- Anchor built-in units to wall studs for safety and structural integrity.
- Coordinate finishes with the rest of your home for a polished, cohesive look.
Frequently Asked Questions
How long does it take to build a custom entertainment center?
Most projects take 3 to 6 weeks from design approval to completed installation. Complex built-ins with extensive trim work or custom paint finishes may take longer.
How much does a custom entertainment center cost?
Costs vary widely based on materials, size, and complexity. A professionally built custom entertainment center in the Tampa Bay area typically ranges from $3,000 to $12,000 or more, depending on scope.
Can I integrate my existing electronics into the design?
Yes. Your contractor will measure each component and plan shelf spacing, cable pass-throughs, and ventilation cutouts to accommodate your current equipment and leave room for future upgrades.
What is the difference between a built-in and a freestanding entertainment center?
A built-in entertainment center is permanently attached to the wall and often spans floor to ceiling, creating a seamless architectural feature. A freestanding unit is a movable piece of furniture that can be relocated.
Do I need a permit for a built-in entertainment center?
In most Florida jurisdictions, a standalone cabinetry installation does not require a building permit. However, if the project involves electrical work or structural modifications, permits may be needed. A licensed Florida general contractor can advise you on local requirements.
What wood is best for a painted entertainment center?
Poplar and maple are top choices for painted finishes because they have tight, smooth grains that accept primer and paint evenly. Cabinet-grade birch plywood is another excellent and cost-effective option.
Can a custom entertainment center increase home value?
Quality built-in cabinetry is widely considered a value-adding home improvement. Buyers often view custom built-ins as a premium feature that sets a home apart from comparable listings.
Ready to Design Your Custom Entertainment Center?
Whether you need a sleek media wall for a modern living room or a traditional built-in for a family den, the team at Remodel Depot has the craftsmanship and experience to bring your vision to life. Contact us today for a free consultation and let us start planning your perfect entertainment center in Tampa Bay.