
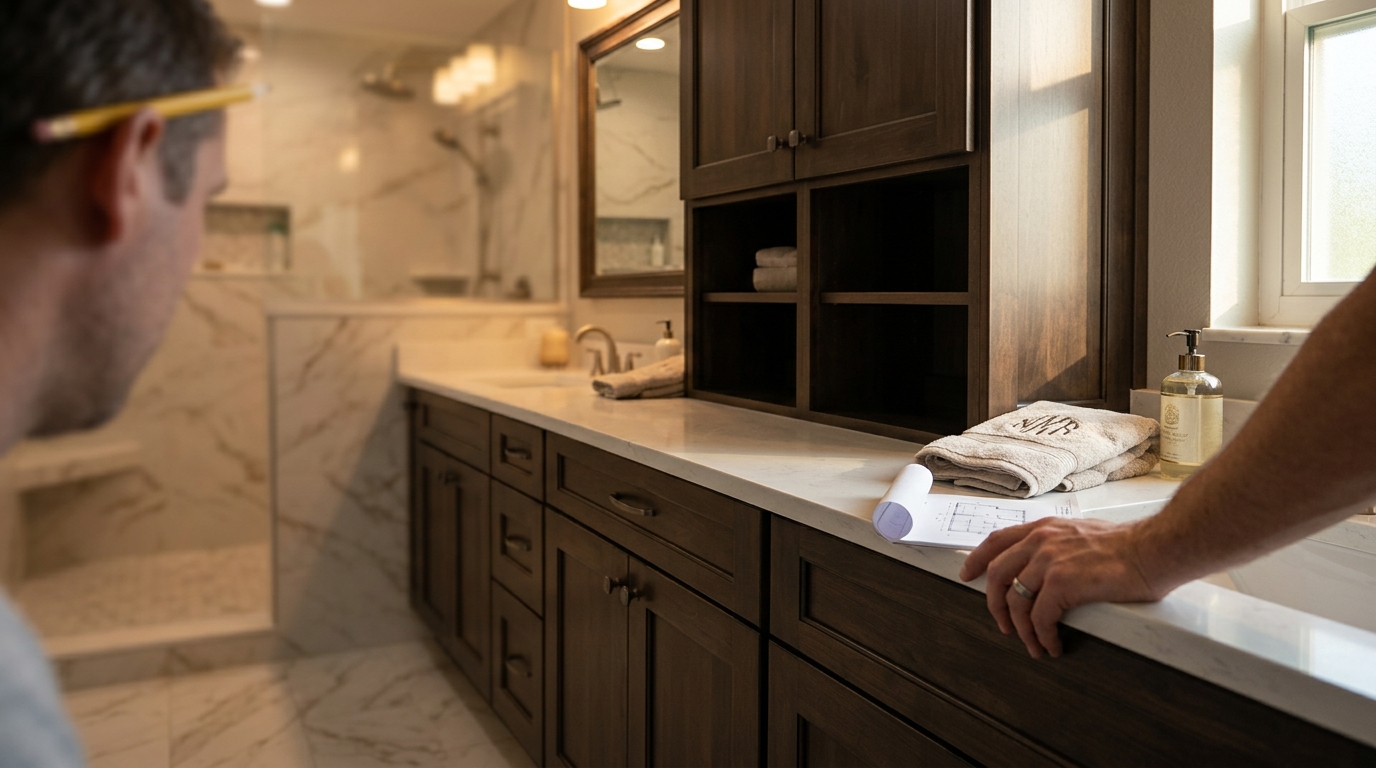
Step-by-Step Guide to Bathroom Vanity and Cabinet Installation in Tampa Bay
Homeowners in the Tampa Bay area face unique challenges when updating their bathrooms due to the region's high humidity and aging housing stock. According to recent industry data, improper installation of bathroom cabinetry can lead to moisture damage in up to 30% of DIY projects within the first two years. This statistic highlights why professional oversight is critical for longevity. At Remodel Depot, we understand that a bathroom vanity is not just storage; it is the anchor of your room's aesthetic and function. This guide breaks down the professional installation process to help you understand the complexity involved.
Step 1: Assessing Your Space and Plumbing
Before any wood is cut or cabinets are lifted, you must evaluate the existing infrastructure. Tampa Bay homes often feature older plumbing systems that may not align with modern vanity standards. The first step is measuring the rough-in distance of your water supply lines and drain pipe. Standard vanities typically require a 12-inch rough-in for the toilet and specific spacing for sink drains.
It is also crucial to check for level floors. Older Tampa homes, particularly those built before the 1990s, often have uneven subfloors. If the floor is not level, your new vanity will rock, causing stress on the plumbing connections and potentially leading to leaks. Professional leveling is the first line of defense against future water damage. If you discover significant structural issues during this phase, it is wise to consult with a licensed general contractor before proceeding.
Step 2: Choosing the Right Materials for Humidity
The climate in Florida plays a decisive role in material selection. High humidity and temperature fluctuations can cause standard particle board cabinets to swell and warp. This is why material choice is not just aesthetic but structural.
Plywood is the gold standard for bathroom cabinetry. Unlike particle board, which is made of compressed wood chips and glue, plywood is constructed from layers of wood veneer. This cross-grain structure provides superior resistance to moisture and structural integrity. When working with custom cabinetry specialists, always request marine-grade or high-quality plywood cores for bathroom applications.
Additionally, consider the finish. Semi-gloss or high-gloss paints create a tighter seal against moisture than matte finishes. For a natural wood look, ensure the cabinet is sealed with a high-quality polyurethane or lacquer on all sides, including the back and bottom, to prevent humidity absorption from the floor.
Step 3: Preparing the Installation Site
Preparation is where most DIY projects fail. You must shut off the water supply to the bathroom and disconnect the existing vanity. This involves removing the supply lines from the shut-off valves and disconnecting the P-trap under the sink. Be prepared for some water spillage; have towels and a bucket ready.
Once the old unit is removed, inspect the wall for water damage. In Tampa Bay, hidden mold or rot behind old vanities is common. If you find compromised drywall or studs, these must be repaired and treated with a mold inhibitor before the new cabinet is installed. Our team at Remodel Depot always includes a structural inspection in our process to ensure the wall can support the weight of a solid wood vanity and stone countertop.
Step 4: The Installation Process
Installing a bathroom vanity requires precision. The process generally follows these stages:
1. Dry Fit and Leveling
Place the vanity cabinet in position without securing it. Use a laser level to ensure it is perfectly plumb and level. If the floor is uneven, use shims (wood or composite wedges) between the cabinet and the floor to create a level base. Never rely on the floor to be level. Shim until the cabinet is perfectly straight, then mark the shim locations.
2. Securing the Cabinet
Once leveled, secure the vanity to the wall studs using corrosion-resistant screws. In older Tampa homes, studs may be spaced differently than modern codes. Use a stud finder to locate the solid wood behind the drywall. If the vanity is wide, it is best practice to secure it to at least two studs to prevent any lateral movement.
3. Plumbing Connections
Connect the water supply lines to the faucet and the drain to the P-trap. Use Teflon tape on all threaded connections to ensure a watertight seal. It is critical to check for leaks immediately by turning the water back on slowly. According to home improvement experts from Apartment Therapy, a slow drip can cause significant damage over time, so take the time to verify every joint.
Step 5: Sealing and Final Touches
The final step is applying a high-quality silicone caulk along the back edge where the vanity meets the wall. This creates a flexible seal that allows for minor movement without cracking. Avoid caulking the bottom edge where the vanity meets the floor, as this can trap moisture and lead to rot. Instead, leave a small gap or use a moisture-resistant caulk if necessary.
Install the countertop and sink if they are not pre-installed. Ensure the sink is properly sealed to the countertop with plumber's putty or silicone. Finally, install the faucets and any hardware. A professional finish ensures the vanity looks integrated and polished.
Comparison of Installation Approaches
Understanding the differences between DIY, semi-professional, and full custom installation helps you make the right choice for your Tampa Bay home.
| Approach | Cost Estimate | Material Quality | Warranty & Support | Best For |
|---|---|---|---|---|
| DIY Installation | $200 - $500 (Tools/Misc) | Varies (Consumer Grade) | Manufacturer Only | Simple swaps in new construction |
| Handyman Service | $500 - $1,200 | Standard Retail Cabinets | Limited Labor Warranty | Basic updates in low-humidity areas |
| Custom Pro Installation | $1,500 - $5,000+ | Premium Plywood & Finishes | Full Craftsmanship Guarantee | High-humidity zones & luxury finishes |
As noted by Bob Vila, custom installation offers superior longevity because the installer can address specific structural quirks of the home that generic installers might miss.
Key Takeaways
- Humidity Resistance: Always choose plywood over particle board for Tampa Bay's climate to prevent swelling.
- Leveling is Critical: Use shims to ensure the cabinet is perfectly level, regardless of floor condition.
- Structural Integrity: Secure the vanity to wall studs, not just drywall anchors, for safety.
- Moisture Sealing: Apply silicone caulk to the back wall joint but leave the bottom edge open to prevent trapped moisture.
- Professional Inspection: Check for hidden water damage behind old vanities before installing new ones.
- Material Choice: Semi-gloss or high-gloss finishes offer better moisture protection than matte paints.
- Licensed Oversight: Working with a Florida Licensed General Contractor ensures compliance with local building codes.
Frequently Asked Questions
How long does bathroom vanity installation take?
A standard professional installation typically takes one to two days. This includes removal of the old unit, preparation of the site, installation of the new vanity, and plumbing connections. Complex custom projects may take longer.
Can I install a bathroom vanity myself?
While DIY installation is possible for those with advanced carpentry and plumbing skills, it is risky in older Tampa Bay homes due to potential plumbing misalignments and uneven floors. Professional installation ensures proper sealing and leveling.
What is the best material for bathroom cabinets in Florida?
Plywood is the best material because it resists warping and swelling from humidity. Solid wood is also excellent but requires more maintenance. Avoid particle board or MDF in high-humidity bathrooms.
Do I need a permit for bathroom vanity installation?
Generally, swapping a vanity without moving plumbing lines does not require a permit. However, if you are moving the drain or water supply lines, a plumbing permit may be required by Hillsborough County regulations.
How do I prevent mold under my new vanity?
Ensure proper ventilation in the bathroom and use moisture-resistant materials. Leave a small gap at the bottom of the vanity or use a moisture-resistant caulk to allow air circulation and prevent trapped water.
What is the average cost of professional vanity installation in Tampa?
Professional installation costs vary based on complexity and materials. Basic installations may start around $500, while custom custom cabinetry projects can range from $1,500 to over $5,000 depending on the scope.
Should I caulk the bottom of the vanity?
No, it is generally recommended not to caulk the bottom edge where the vanity meets the floor. This allows any potential leaks to escape rather than being trapped inside the cabinet, which can cause rot.
Start Your Project
Transforming your bathroom requires precision, quality materials, and expert craftsmanship. At Remodel Depot, we specialize in custom bathroom vanities and cabinetry designed specifically for the Tampa Bay climate. Our team handles every step, from initial consultation to final installation, ensuring your project is completed on time and to the highest standards.
Ready to upgrade your bathroom? Contact us today to schedule your free estimate and discover the Remodel Depot difference.